I have no cards to post this evening, but that does not mean I haven't been up to my elbows in ink and paper. I did 5 scrapbook pages as well another from late last week and that's not counting one more page that is on my desk waiting for some journaling. I've been busy!
The layouts of the snow pages in pink and in blue were cased from
SplitCoastStampers, however I made my own pink paper.
Pink page: stamped in white color box pigment using various Hero Art Stamps, Cuttlebug snowflakes, dollar store sticker letters.
I like the affect of making my own patterned paper, I've never done that with a scrapbook page before. Original here.

Blue page: Figgy Pudding Dp - Silent Night, Sandylion Dp - Let It Snow, Hero Art Stamps, Cuttlebug snowflakes, white ep, corner punch, traced dollar store letters. Original
here.

Christmas page: My Mind's Eye Dp, Sandylion DP - O Christmas Tree / Florentine Ribbons, Sentiment Sandylion - Season's Greetings, Quick Kutz - flourish, Distress Ink

I love this Harvest layout , it is simple, but very effective, I borrowed the layout from
Scrap Maps.
Harvest page: My Mind's Eye Dp, Scenic Route Dp, Title by Bo Bunny Press - Pickin' Pumpkins, Michaels Dollar stamp, Distress Ink, bronze brads.

These last two pages are photos from the same day. I was planning on doing a double page layout, but when I put the pony photos onto the brown gingham paper from My Mind's Eye, it didn't work because of the orange ribbons I used. I kept going back to the polka dot paper also by My Mind's Eye which is almost identical to the hat my daughter was wearing, hence no more double page.
Harvest page: Bo Bunny Press embelishments - Pickin' Pumpkins, My Mind's Eye Dp, coorinating ribbons from the kid's nana.

Pony page: originally the journaled tag was going to go on the upper left hand corner and the Title where the tag is now. I glued all the photo's into place then started moving things around and liked the journal on the bottom better, but now had a big blank space in the upper left hand corner so I borrowed the layered bubble idea from my son's swimming page. I like the effect of writing around some of the bubbles, although in this case I guess they would be polka dots, not bubbles.

Hey, I think that's all of them "phew". Have a great day!

 It another fabulous Tiddly Tuesday Challenge - #74 - Anything Goes and this one runs two weeks. I thought the two week challenge was last week, oops, my bad, sorry for any confusion I may have caused. This whole month has been a wonderful Anything Goes theme at the Tiddly Inks Challenge site, so get out your favorite Tiddly and play along with us.
 I originally made this card with darker snowflakes as seen above, but then changed my mind and redid them in more traditional snowflake colours.
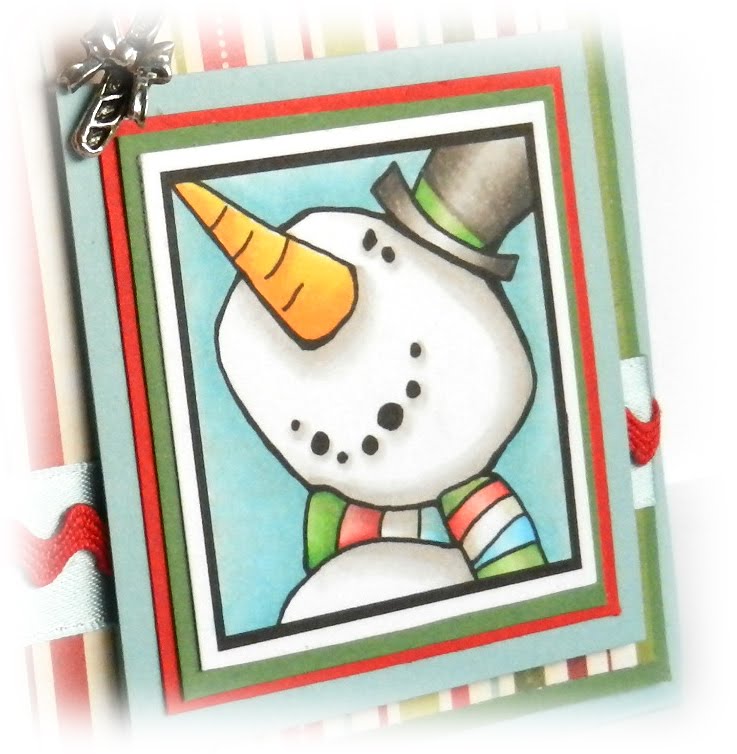


